By Elton LaClare
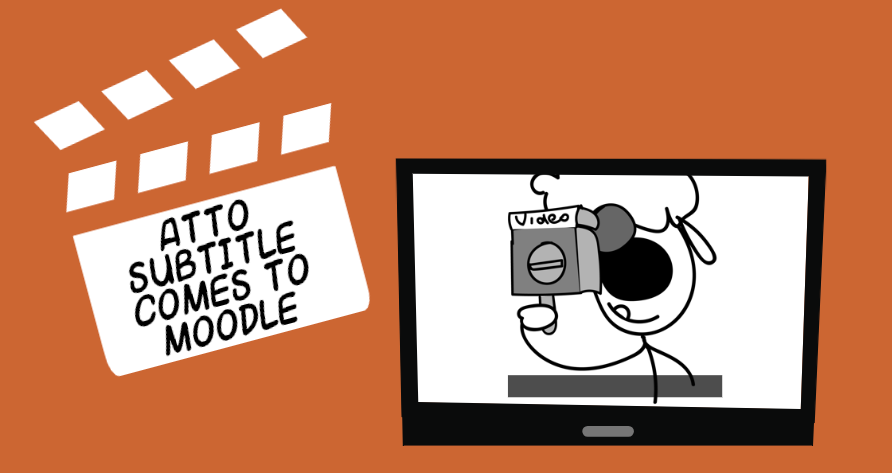
There are countless reasons why you want to look into adding subtitles to your Moodle.
Captions accompanying audio or video content can support hearing-impaired learners or accommodate speakers of other languages. But there are hundreds of possibilities beyond the obvious. Use it to overcome technical issues that affect proper content playback, or even help increase the focus of students by offering textual reinforcement to what they are listening.
Taking the time to include subtitles can be more rewarding than it seems. It will earn you the gratitude of a wide swath of learners, not only those who strictly speaking require them. Indeed, according to a 2006 study conducted by the UK’s Office of Communications (Ofcom), 80% of those who regularly use subtitles do not suffer from any form of hearing impairment (PDF). It appears that videos with subtitles enjoy higher user engagement and better user experience overall, across a variety of users.
Here is a quick summary of your options when it comes to adding subtitles to your audio and video content.
Video JS
Since Moodle 3.2, when Video JS became the default media player, it has been possible to add subtitles, captions, descriptions and chapters to audio and video files that have been uploaded to the site. The process for doing this has been described in a number of places, most notably in the official Moodle Docs. Provided you are using the Atto editor, the option for adding subtitles and captions appears in both the Audio and Video tabs of the Insert media popup.

Expanding the “Subtitles and captions” section reveals the option to add a subtitle track URL or upload from a linked repository, for a suitable WebVTT file.

Although WebVTT files can be created using any simple text editor (e.g., Notepad), the process can be time-consuming and prone to errors.
Poodll Subtitles: It could not get any easier…
With a little help from the Poodll Subtitle for Atto plugin, it’s possible to write subtitles or edit existing ones without ever leaving Moodle. The plugin adds a handy icon to the Atto editor’s toolbar, so you can begin the process of creating subtitles for your audio and video files practically anywhere in Moodle. Insert a media file into the editor, select it, and click the subtitle button to launch.


A subtitles editor will appear. If the subtitles are associated with the file, you will see them, otherwise the editor will be empty. The player controls for audio or video files appear at the top of the editor. Use the buttons to navigate the video and set in and out times for each line. These can be fine-tuned using the up and down arrows or by simply typing the correct time in the adjacent field. Once the timing has been set, all it takes is add the text. That’s all! When all subtitles have been entered, click “Save Subtitles” and you are done.

…Or could it! Introducing Cloud Poodll
Does the process of adding subtitles to your media files still seem like too much work?
If it does, there’s yet another option. The new Cloud Poodlle (subscription service) uses speech-to-text transcription to create subtitles for you! This technology is a godsend for anyone, although it will definitely help managers of extensive libraries of video in need of subtitles sleep better at night.
Get started from an Atto text editor as usual. Only this time, select the appropriate Cloud Poodll icon from the toolbar for either audio or video. Upload your media file (drag-and-drop is available, of course) or add them using the file picker. Once the file has uploaded, go to the Options tab and tick the “Request subtitles for this recording” box. Choose the language, and go. (At the time of writing support is only available for English and Spanish.)

Adding subtitles for files created by the built-in recorder is possible too. Just record your audio or video, upload it, and follow the same simple steps for pre-existing files.
Conclusion
There are several ways you can add subtitles to your audio and video files in Moodle:
- Edit subtitles (WebVTT file) straight from a text editor and upload it next to your audio or video file;
- Download and install the free Poodll Subtitles plugin for Atto and edit your subtitles directly in Moodle
- Get a Cloud Poodll subscription and let the speech to text transcription service write the subtitles for you.
Whichever method you choose, taking the time to add subtitles to your media files will greatly enhance accessibility, usability, engagement and user experience.
Read more: Video at docs.moodle.org.